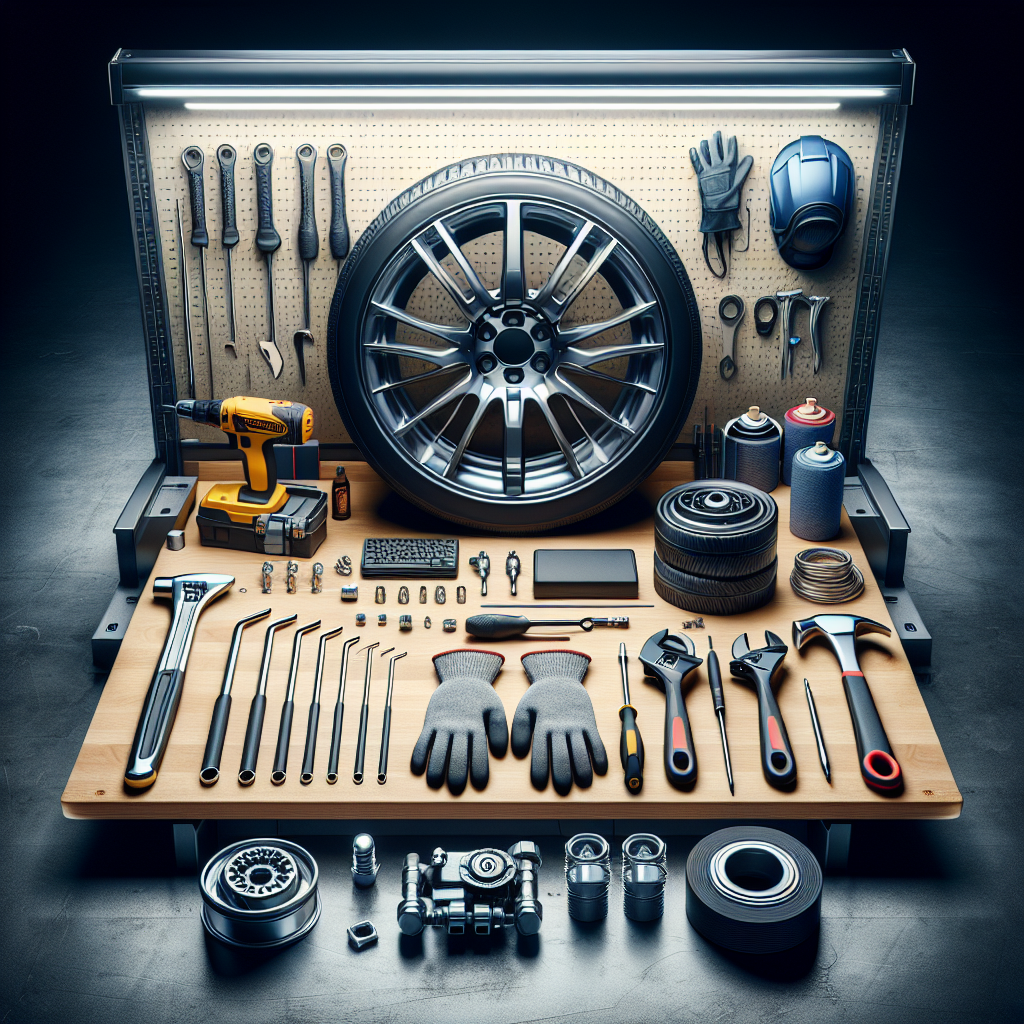
Essential Tools for Installing Wheel Covers Like a Pro
Aug 23, 2024

If you’re looking to enhance the look of your vehicle with sleek and stylish wheel covers, you’re in the right place! Whether you’re a seasoned mechanic or a DIY enthusiast, having the right tools on hand can make the process of installing wheel covers smoother and more efficient. Let’s look at some essential tools that'll have you installing wheel covers like a professional.
#### 1. **Jack and Jack Stands**
Before you can install your wheel covers, you need to lift the vehicle safely off the ground. A good-quality jack and stands are critical for stability while you work on your wheels. Ensure that the jack is rated for your vehicle's weight and always use jack stands to support the vehicle after lifting it.
#### 2. **Lug Wrench**
A lug wrench or tire iron is necessary for removing the lug nuts holding your wheel in place. Opt for a multi-sized lug wrench to accommodate different lug nut sizes, ensuring it fits securely. If you want added ease, consider investing in a torque wrench to apply the correct amount of pressure when reattaching the lug nuts.
#### 3. **Clean Cloths and Mild Cleaner**
Before installing new wheel covers, it’s crucial to clean the wheels thoroughly. Use clean cloths and a mild cleaner to wipe off dirt, grease, and grime. This not only ensures a smooth installation but also helps prevent the accumulation of dirt under the wheel covers, which can cause damage over time.
#### 4. **Tire Pressure Gauge**
While this tool isn't directly related to the installation of wheel covers, checking your tire pressure before proceeding is wise. A properly inflated tire extends the lifespan of your tires and wheel covers, ensuring safe driving.
#### 5. **Plastic Pry Tool**
For those who opt for wheel covers that feature clips, a plastic pry tool can be invaluable. This tool helps ease off existing covers or trim without causing damage to the wheel surface. It provides leverage while minimizing scratches on the rims.
#### 6. **Rubber Mallet**
A rubber mallet is a great alternative to a metal hammer, which can cause dents and scratches. When installing or securing your wheel covers, a gentle tap from a rubber mallet can help settle the cover properly without damage.
#### 7. **Gloves**
Keeping your hands clean and safe should always be a priority. Invest in a good pair of gloves to protect your hands from scratches, contaminants, and the possibility of rust.
#### 8. **Application Guides or Manufacturer Instructions**
If you’re new to installing wheel covers, don’t hesitate to consult the manufacturer’s instructions or online application guides. Creating a checklist of steps can ensure that you follow the correct process and experience a hassle-free installation.
### Conclusion
Installing wheel covers can entirely change the aesthetic of your vehicle while protecting the wheels underneath. By utilizing these essential tools, you can effectively and efficiently install your new hubcaps and wheel covers like a pro. Remember, thorough preparation and using the right tools are the keys to a successful installation!
Visit **[Your Brand Name]**, your premier supplier since 1979, where you can find a wide selection of hubcaps, wheel covers, chrome wheel skins, and wheel simulators. Stay stylish on the road!


