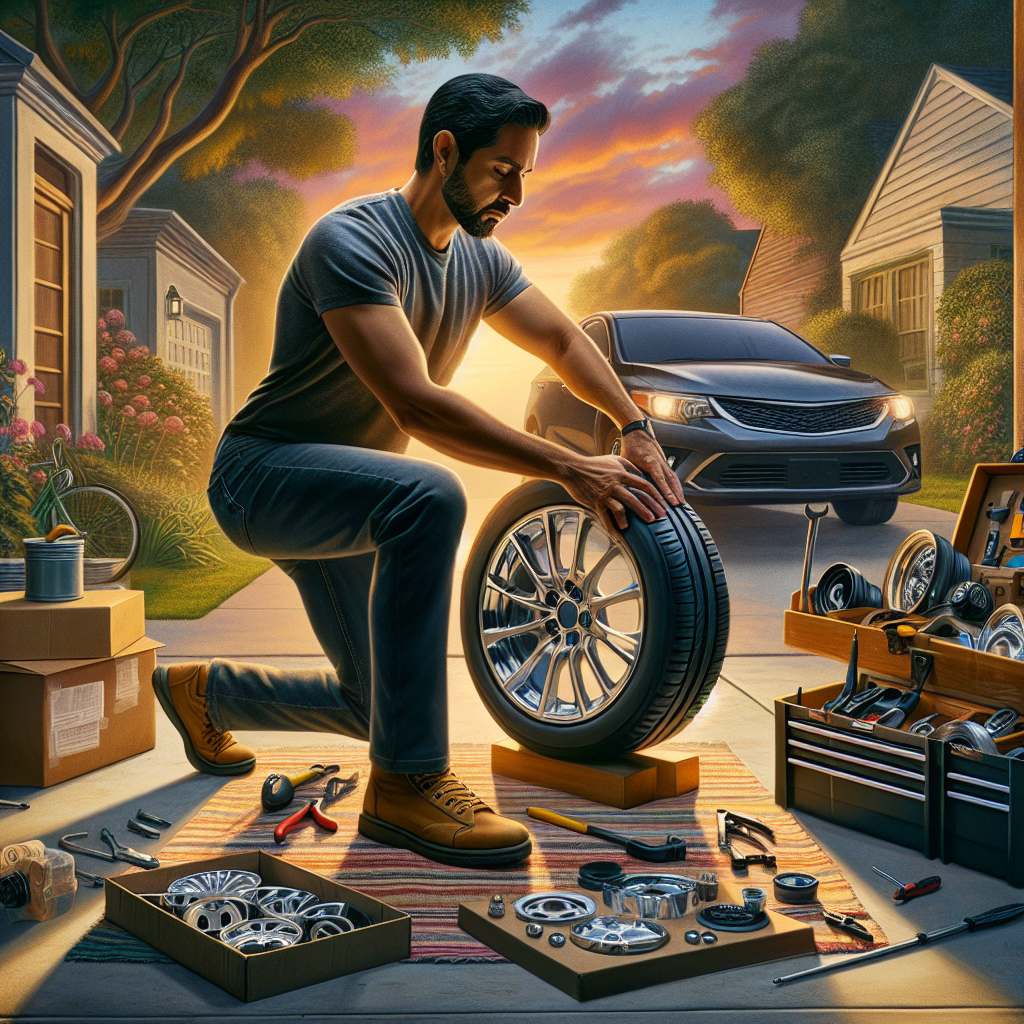
7. "DIY Installation Tips for Hubcaps and Wheel Skins: Enhance Your Car in Minutes
Aug 03, 2024

Welcome back to our blog! As your premier supplier of hubcaps, wheel covers, chrome wheel skins, and wheel simulators since 1979, we take pride in helping car enthusiasts and everyday drivers alike enhance the aesthetic appeal of their vehicles. One of the simplest and most effective ways to give your ride a fresh look is by upgrading your hubcaps or wheel skins. What’s more? You can easily do it yourself! Here are seven DIY installation tips to enhance your car in just a few minutes.
### 1. **Choose the Right Fit**
Before you even think about installation, you need to choose the right hubcaps or wheel skins that fit your wheels perfectly. Wheel covers come in a variety of sizes and designs, so ensure you check your vehicle’s manufacturer specifications or consult the size guide on our website. A snug fit will not only enhance your car's appearance but also prevent any potential dislodgement while you're driving.
### 2. **Gather Your Tools**
While the installation process is simple, having the right tools can make the job smoother. You typically only need:
- A soft cloth or sponge for cleaning
- A tire pressure meter (optional but recommended)
- A utility knife (for removing old or stuck hubcaps)
Make sure to perform the installation in a well-lit area for better visibility.
### 3. **Prepare Your Wheels**
Before installing your new hubcaps or wheel skins, take a moment to clean your wheels. Dirt, grime, and debris can prevent a secure fit and ruin the aesthetic appeal you’re aiming for. Use a soft cloth, warm water, and mild soap, and then dry thoroughly. This step will also help you check for any potential damage to your wheels that may need attention.
### 4. **Remove Old Hubcaps**
If you're replacing existing hubcaps, begin by gently removing them. This might require some effort, especially if they are stubborn. Use a utility knife to carefully pry off any old or damaged covers without scratching the wheel itself. Always take your time with this process to avoid any accidental damage or injury.
### 5. **Align the New Hubcaps or Wheel Skins**
Now that you’ve prepped the wheels, it’s time for the fun part—installing your new hubcaps or wheel skins! Simply align the hubcap over the wheel, ensuring that it is aligned properly with the valve stem for added accuracy. Press down firmly and evenly from the center outward to help secure it in place.
### 6. **Check the Fit**
After installation, walk around the car and give each hubcap a gentle push to ensure they’re firmly in place. If any hubcap feels loose, try removing it and reinstalling it to achieve a tighter fit. Also, take note of the valve stem availability; you want to ensure it’s easily reachable and visible for tire inflation.
### 7. **Final Touch and Inspection**
Once you've installed all hubcaps or wheel skins, take a few moments to step back and admire your work! A successful upgrade can enhance the overall appearance of your vehicle. Finally, do a last inspection to check for proper seating, ensuring that all edges are secured and all hubcaps match in alignment.
### **Conclusion**
Installing hubcaps or wheel skins is a simple yet impactful way to improve your car's aesthetic in just a matter of minutes. As the premier supplier since 1979, we’re proud to provide high-quality hubcaps and accessories that can elevate any vehicle. With these DIY installation tips, you’re well on your way to giving your car a fresh, new look!
Be sure to explore our extensive range of hubcaps, wheel covers, chrome wheel skins, and more on our website. Happy driving and happy enhancing!
---
Feel free to reach out if you have any questions, or let us know how your installation went! You can always count on us to be your trusted hubcap supplier.


